Getting Started with Sire
Walk through setting up your account and launching your first automated mission.
Welcome to the future of orchestration. This guide will walk you through setting up your account and launching your first automated mission.
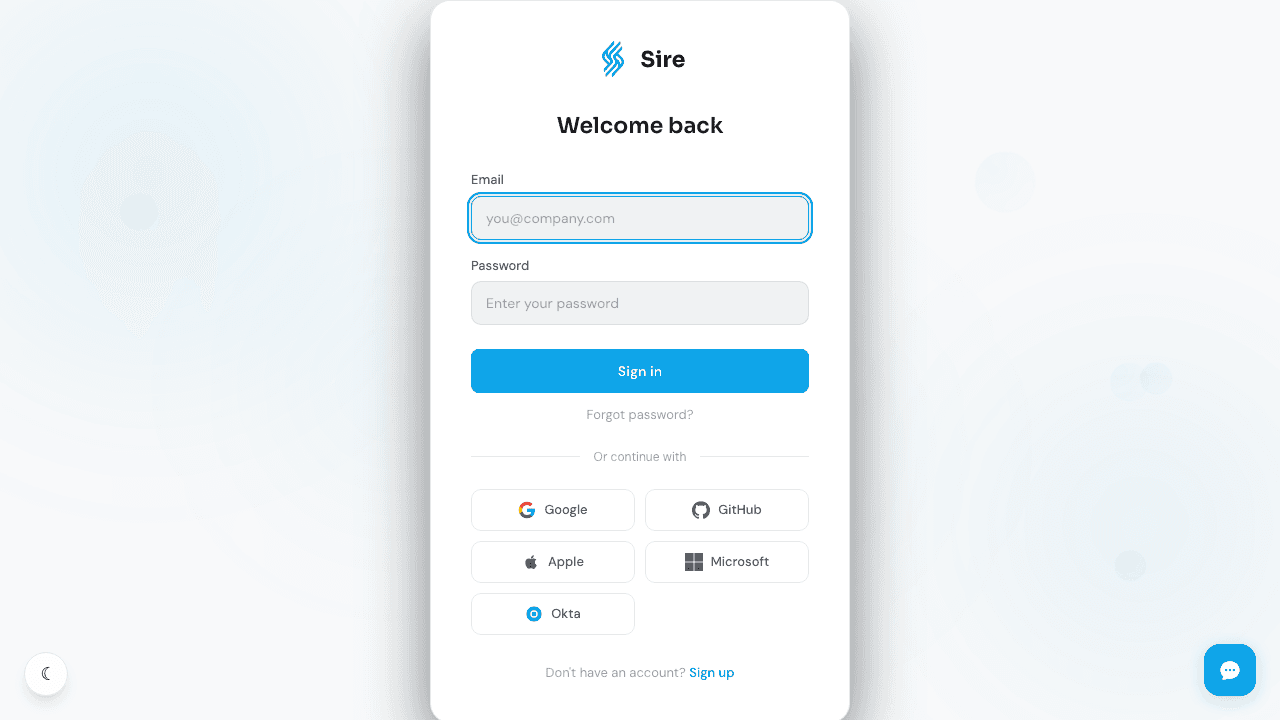
1. Sign Up and Access Mission Control
Go to sire.run and sign up using your work email, GitHub, or Google account. Once you log in, you will be greeted by Mission Control, your central dashboard for all workflow operations.
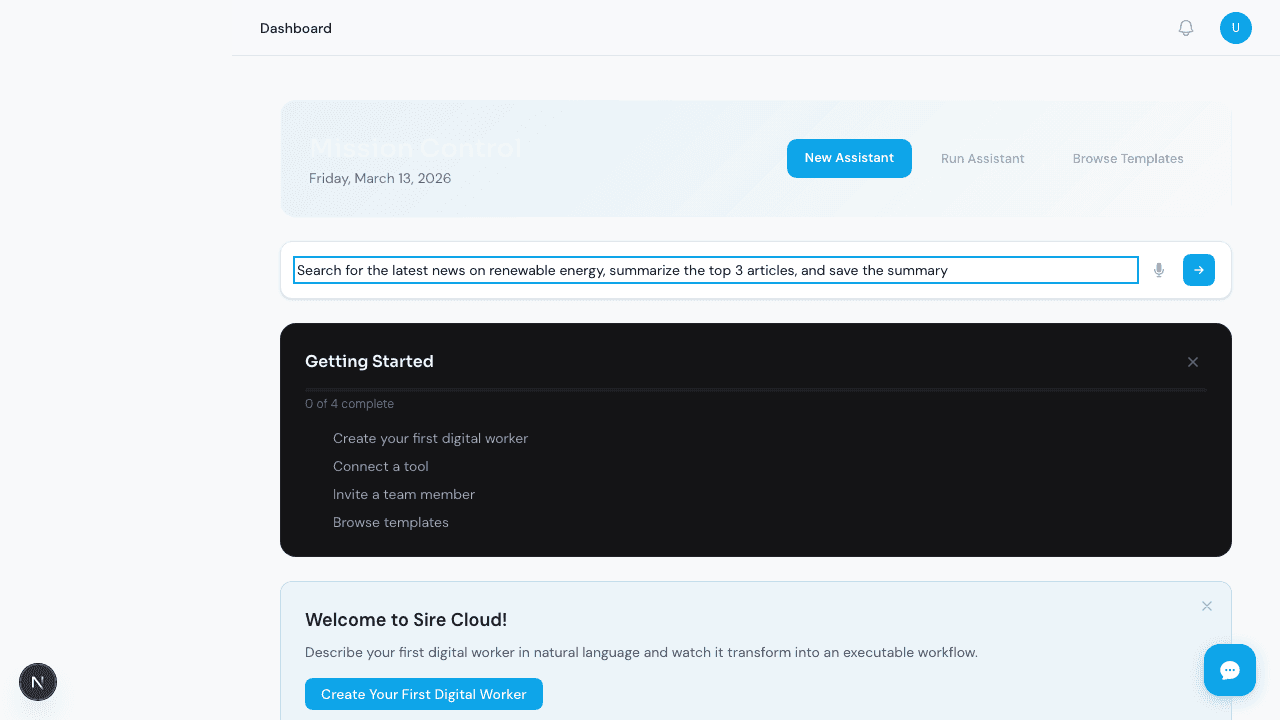
2. Prompt Your First Mission
The fastest way to use Sire is the Prompt Panel.
- Describe your goal: In the main text area, enter a task.
- Example: "Search for the latest news on renewable energy trends, summarize the top 3 articles, and save the summary to a file."
- Generate the Workflow: Click Generate. Sire's AI will analyze your request and build a visual graph of the steps required.
3. Review the DAG
Before execution, Sire shows you the Directed Acyclic Graph (DAG).
- Nodes: Each circle represents a "Step" (a specific tool being called).
- Edges: The lines represent "Dependencies" (Step B starts only after Step A finishes).
Click on any node to see the parameters the AI has configured for that tool. You can manually edit these if you need to fine-tune the behavior.
4. Set Up Credentials
If your mission requires access to external services (like OpenAI, Slack, or a private database), you may see a warning about missing Credentials.
- Go to Settings > Credentials.
- Add the necessary API keys or connection strings.
- Security Note: Sire encrypts your credentials at rest using enterprise-grade AES-GCM. We never store secrets in plaintext.
5. Deploy and Execute
- Click Deploy to save your workflow.
- Click Run Now to start the execution.
- Watch the Thought Stream: As Sire works, you'll see a real-time log of the AI's "thoughts" and the status of each step updating live on the graph.
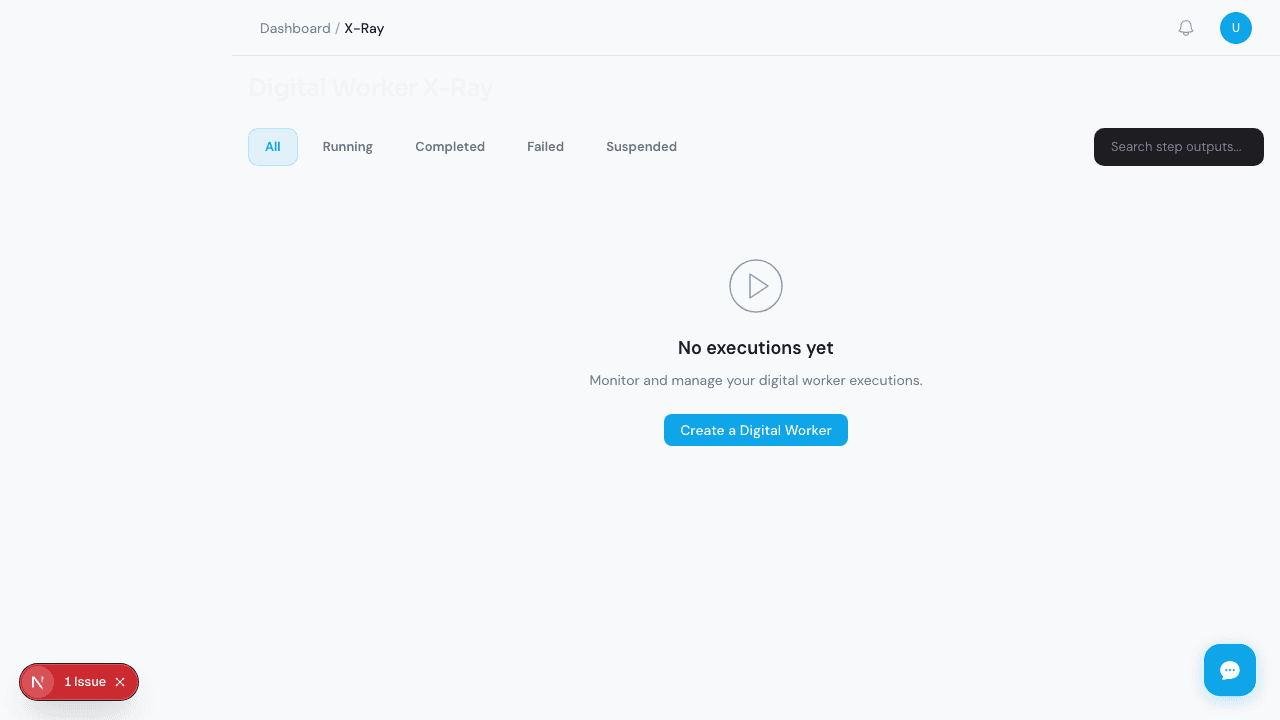
6. Access Results
Once the execution is complete:
- Outputs: Click on a step to see the raw data it returned.
- Artifacts: If the workflow generated files, they will be available for download in the Artifacts tab.
7. Credential Troubleshooting
If your workflow fails due to credential issues, follow these steps.
Common Credential Errors
| Error | Cause | Fix |
|---|---|---|
missing_credential | No credential stored for the required service | Add the credential under Settings > Credentials |
invalid_credential | The API key or token has expired or been revoked | Regenerate the key in the external service and update it in Sire |
permission_denied | The credential lacks the required permissions | Check the external service's permission settings for the API key |
connection_timeout | The external service is unreachable | Verify the service URL is correct and the service is operational |
Steps to Resolve
- Go to Settings > Credentials and find the credential in question.
- Click Test Connection to verify it works.
- If the test fails, delete and re-add the credential with a fresh API key.
- Re-run the workflow. The new credential will be picked up automatically.
Credential Security
- Credentials are encrypted at rest using AES-GCM.
- They are never logged or included in execution outputs.
- Each credential is scoped to your tenant and cannot be accessed by other organizations.
8. Retry Logic
Sire automatically handles transient failures with configurable retry policies.
Default Behavior
When a workflow step fails due to a transient error (network timeout, rate limit, temporary service outage), Sire retries the step automatically with exponential backoff.
Configuring Retries
Click on any step in the DAG editor to configure its retry behavior:
- Max Retries: Number of retry attempts before marking the step as failed (default: 3).
- Backoff Multiplier: How much to increase the delay between retries (default: 2x).
- Initial Delay: The wait time before the first retry (default: 1 second).
When Retries Are Not Appropriate
Disable retries for steps that are not idempotent (e.g., sending an email or charging a credit card). Click the step and set Max Retries to 0.
Monitoring Retries
The Thought Stream in Mission Control shows retry attempts in real time. Each retry is logged in the execution history with the error that triggered it.
Next Steps
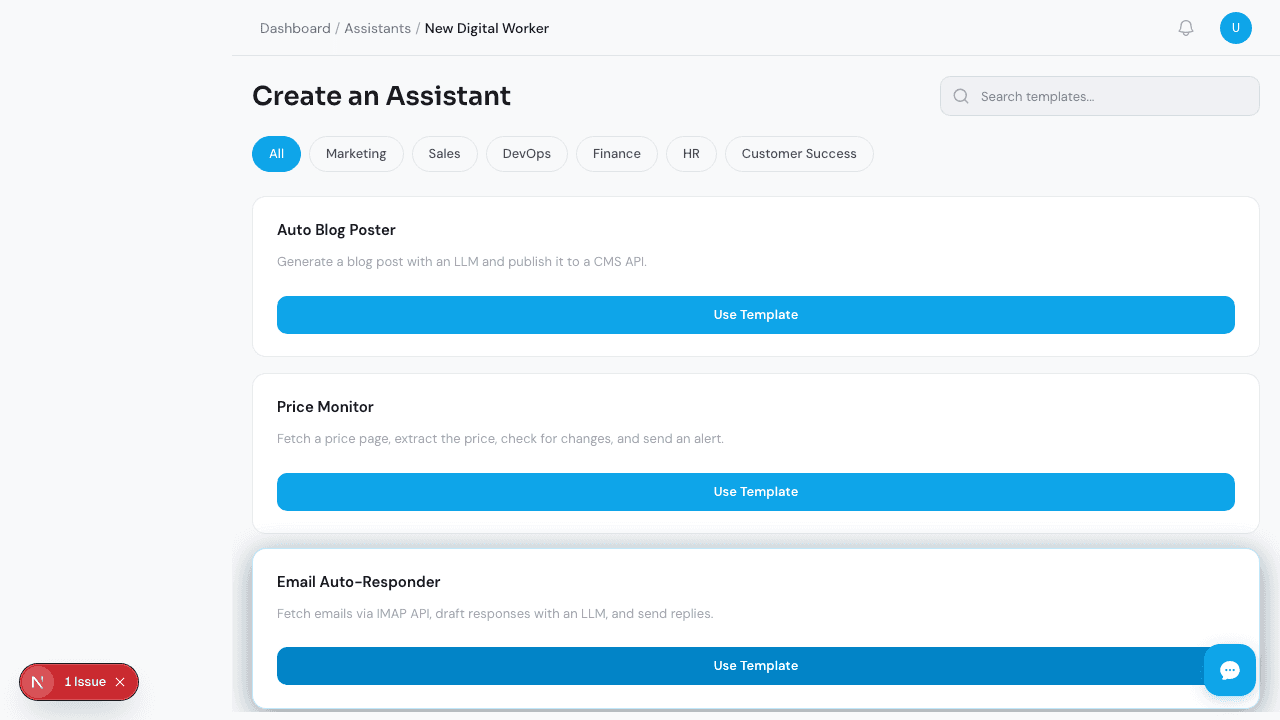
- Explore the Mission Templates for inspiration.
- Learn how to Connect Custom Tools via MCP.
- Read about Human-in-the-Loop for workflows that require your approval.
- See the Quickstart Guides for role-specific onboarding.
Welcome to Sire
Sire is the world's first intent-driven workflow orchestration engine designed for the AI-native enterprise.
Use Case Gallery
Discover how teams use Sire to automate market research, customer onboarding, content generation, data pipelines, incident response, compliance monitoring, lead qualification, and reporting.